First Party Journeys - Implementation
- 05 Oct 2022
- 4 Minutes to read
- Print
- DarkLight
First Party Journeys - Implementation
- Updated on 05 Oct 2022
- 4 Minutes to read
- Print
- DarkLight
Article Summary
Share feedback
Thanks for sharing your feedback!
First Party Journeys
First Party Journeys extends Activate’s capabilities by allowing you to identify and monitor customer activity on your own websites - in addition to the shopping data already provided from Jornaya’s Partner Network. This add-on offers a more holistic understanding of the consumer’s interests and engagement and lets you better prioritize whom you engage and personalize your outreach.
Key Capabilities
- Enhanced Customer Recognition – Identify when consumers are shopping on your website and what they are engaging with.
- When Jornaya has witnessed a consumer in our Partner Network, we can identify them as they visit your site.
- Connecting the customer journey - In a single output file, view the customer journeys observed on your site AND within Jornaya's Partner Network creating a more holistic view of the customer's interests.
- More Personalized Outreach – Connect a more complete picture of consumer behavior and intent across your websites and Jornaya’s Partner Network so that you can create the most personalized outreach.
How do First Party Journeys work?
If a user was previously seen in Jornaya’s Partner Network or if they fill out a form on your own site, Activate can identify them on a First Party Journey. First Party Journeys are comprised of one or more Campaigns. A Campaign is an implementation JavaScript snippet, that you will add to your site. Whenever a user visits a page with a Campaign, Activate will associate any traffic to the relevant Journey. In many cases, you may only have one Campaign for a Journey as shown in the example below:
| Journey | Campaign |
|---|---|
| First Party Refi | Refi Campaign |
| First Party Mortgage | Mortgage Campaign |
In some cases, however, you may want to associate more than one Campaign to a Journey. This can be useful if you already have a campaign on your site (for example, if you’re using Jornaya’s First Party Guardian product), or if you want to have a summary field. For example:
| Journey | Campaign(s) |
|---|---|
| First Party Refi | Refi Campaign |
| First Party Mortgage | Mortgage Campaign |
| All Shoppers | Refi Campaign; Mortgage Campaign |
Setting up First Party Journeys
1. Create a Journey
To create a First Party Journey in myJornaya, start by clicking on the Journeys tab at the top of the page.

This first page will contain a list of all third party journeys. Ones you are subscribed too, and ones that are locked. You will want to click on the "First Party Journeys" tab to see any already created First Party Journeys. If you’re never created a Journey, you will see insutrctions on how to set up your first one.
If you are adding your first journey, click "+Create a Journey" in the top right of the page.

When naming your journeys, we recommend using conventions that describe how you want to categorize traffic on your site.

2. Add a Campaign to Your Journey
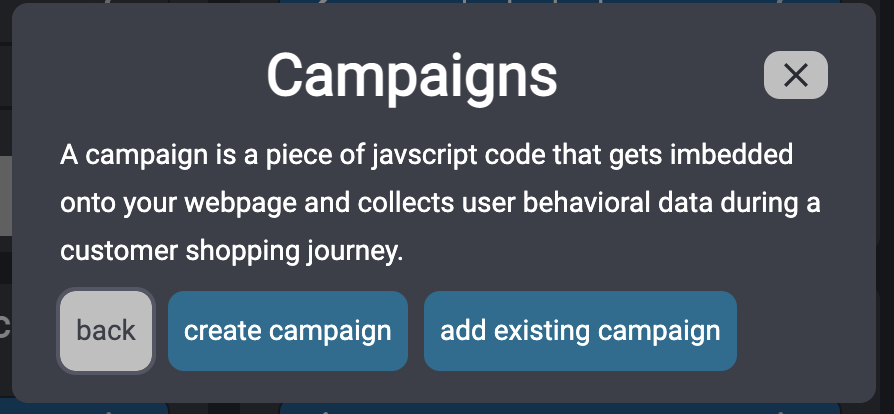
Upon completion of create your journey, you will need to add at least one campaign to the journey. You will be presented with two options to do this:
- Create Campaign - to generate a new campaign and related script
- Add Existing Campaign - for campaigns already in-use (e.g., already running with 1P Guardian)

Each campaign is a snippet of Javascript code that you will add to your site. Any consumers visiting a page with that tag will be counted in the journey(s) using that campaign. Click into your journey and select either:
3a. Create Campaign
If you are creating a new campaign, you will be prompted to give that new campaign a name.
A campaign is typically related to a unique webpage, so a naming convention that aligns with the webpage where the script will go will help differentiate your campaigns/pages.

Click "Done". Once you have created your new campaign, it will automatically be added to the journey you just created as well.
3b. Add Existing Campaigns
If you choose to Add Existing Campaigns, you will be presented with all of the campaigns that you have previously created. Simply click the campaigns which you would like to add to the journey you just created and then click "Done"

4) Add Campaign Script to your site
Once a campaign is added to your journey, click the "Code" </> button next to the Campaign within the Journey you would like to implement on your site, to access your campaign javaScript snippet:

Install the Campaign script(s) on your site.
INSTALLATION NOTES
Multiple scripts can be added throughout your site, but only 1 script tag should be added on any given page. Data may not be accurately captured if more than 1 script is running on the page
Add the script as closely as you can to the closing body tag ()
5) Update your Instance Configuration
Once you’ve created a First Party Journey and added the script(s) to your site, Activate can begin recognizing traffic.
Critical Step
To begin receiving this First Party Journey data, you need to go into your Activate Instance(s) and add your new Journey(s) to the configuration.
To do this, go to the Instance List page, find the instance you want to add your newly create journeys to, and click on it to "Configure Instance"

From the Instance configuration page, go to the First Party Journeys section and select all Journeys you want to receive data for. Make sure you click on the "Save Configuration" button in the upper right of the page when complete

What's Next?
Once you’ve added your Journeys, you should also update your Activate Signal data integration, so that your system of record is ingesting this new journey data. For more information on updating integrations, check out this article.
Was this article helpful?