Monitoring File Upload Wizard
- 01 Mar 2024
- 1 Minute to read
- Print
- DarkLight
Monitoring File Upload Wizard
- Updated on 01 Mar 2024
- 1 Minute to read
- Print
- DarkLight
Article Summary
Share feedback
Thanks for sharing your feedback!
Video Overview
Step by Step Guide: Upload Your Monitoring File via myJornaya
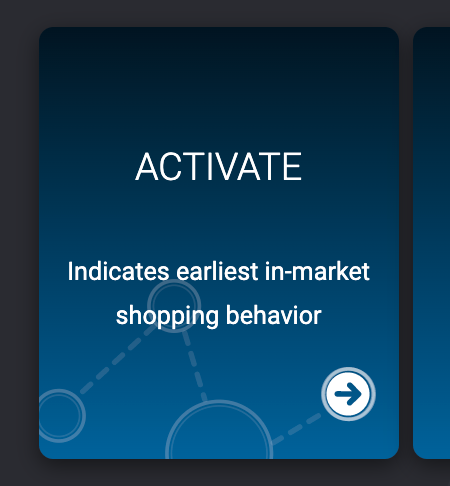
Log into myJornaya and select the "Activate" tile/ button.
Open the desired instance or create a new one by clicking the
button in the top right-hand corner of the screen.
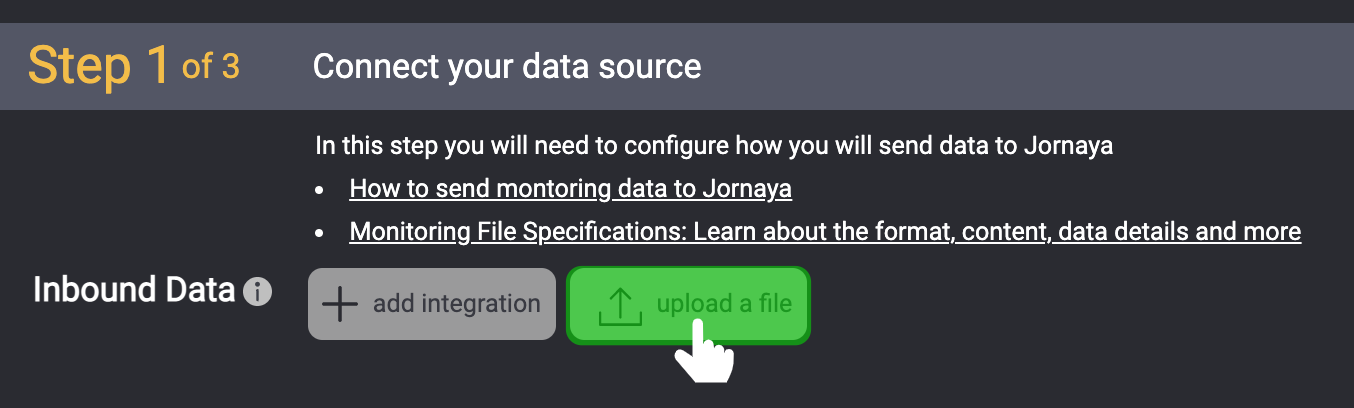
With the instance open, navigate to the first step to "Connect Your Data Source"
Click "Upload a File", select the desired Activate Monitoring File, then click "Open".


File Size Limit
There is a file size limit of 1GB when uploading a file using the myJornaya Interface. If the file is larger than this, utilize the API Endpoint endpoint.
Please email support@jornaya.com if you have any questions
If the file is not in a valid activate format, map the appropriate fields by clicking on the "Map Fields" button.
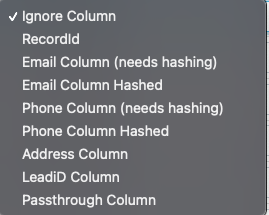
Click the drop-down next to each of the fields and select the appropriate option based on the data that is present in that field as previewed at the top of the page. Below are the available options in the dropdown.
As each column is mapped a preview of the output will be shown at the bottom of the screen showing what the data will be transformed into.
If all of the fields are not mapped appropriately, the "Build and Validate" button at the bottom will not allow proceeding to the next step. If this is the case, please review all columns and confirm it adheres to the Activate Customer File Specification.
If everything appears correct and the "Build & Validate File" button is unable to be selected, please email support@jornaya.com or contact your Jornaya CSM.
Once all mapping is complete click the "Build & Validate File" button to validate the file. NOTE: This does NOT upload the file.
Success
You will be able to click the "Upload File" button to complete the process
Additionally, the transformed/mapped file can be download the by selecting "Download Generated File" before it is uploaded.
NOT Successful
A member of the Support team or a Jornaya CSM will be in contact to resolve the issue.
To review the validation error results follow the steps in the Activate Monitoring File Validation & Notifications article.

What's Next? Jornaya Activate Signal Data
After the data source integration has been completed, it is time to ensure that the Jornaya Activate Signal Data is properly ingested for marketing outreach.
Was this article helpful?