SFTP
- 01 Mar 2024
- 3 Minutes to read
- Print
- DarkLight
SFTP
- Updated on 01 Mar 2024
- 3 Minutes to read
- Print
- DarkLight
Article Summary
Share feedback
Thanks for sharing your feedback!
Summary
The SFTP data source integration is built to pull a monitoring file directly from any customer-created SFTP server.
Setup Your SFTP Data Source Integration
Now that you have determined how you will provide Jornaya with your Monitoring File, within your newly created Instance, click the "+Add Integration" button under the "Data Source" section.
Click the "SFTP" integration option
You will need to choose the Frequency at which you want Activate to obtain Monitoring Files. Please see the "Frequency of Monitoring" section below for more information on "Manual Run" vs. "Automatic Run".
Within the modal window that appears, click "New Authentication" and authenticate with the desired SFTP account credentials.
Using a public/private key to authenticate?
Generate an SSH Key Pair
Add the public key to your server
Input the private key into myJornaya (using the Authentication interface)
Complete the remaining authentication steps
Note: Jornaya cannot provide a key pair as we do not have access to your account and credentials
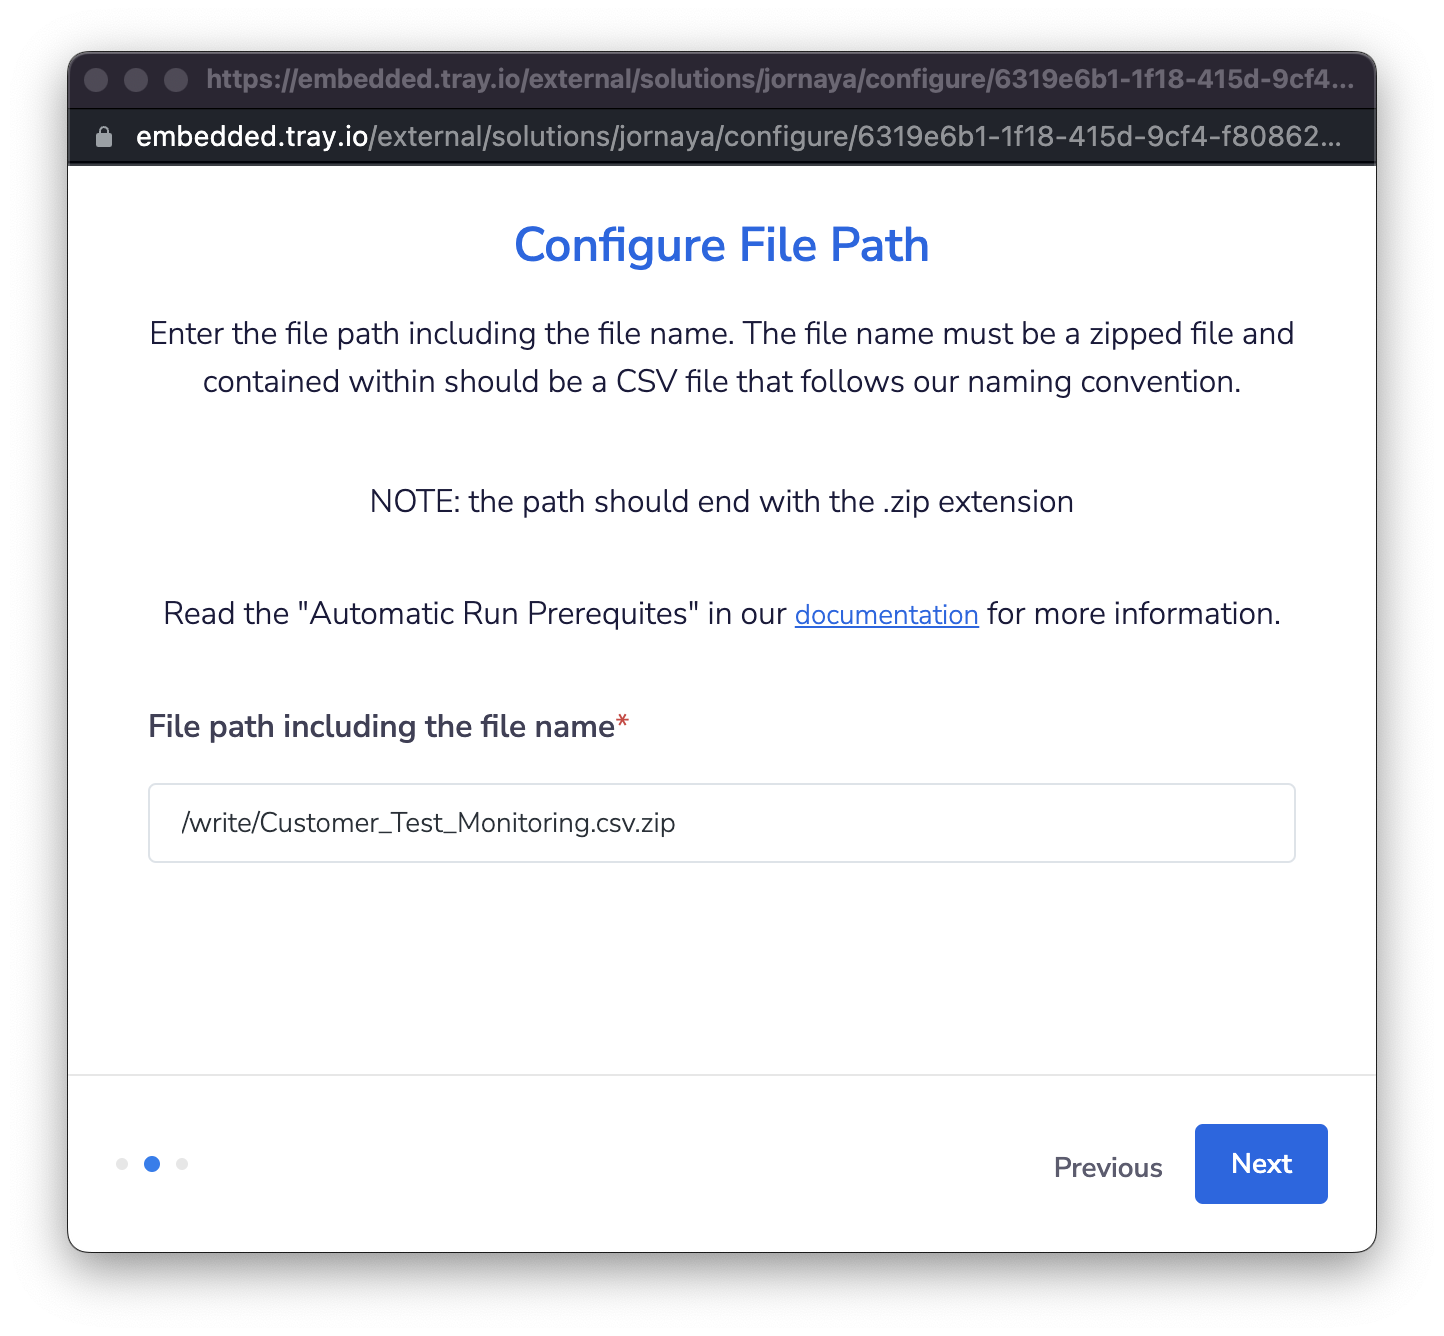
Enter the full file path, including the file name Jornaya should be pulling from the SFTP server.
Does the data need to be hashed?
If so, leave the “Is the data already hashed?” option de-selected.
Click "Finish" to finalize the setup of the integration, however, this does NOT turn on the integration.
Enable the integration by toggling it on (left/blue)
.png "image(13).png")
Upon enabling the integration, it will process within 5 minutes
If there are any issues with the integration, the Jornaya Support team will be in touch with the next steps.
.png "image(13).png")
What's Next? Jornaya Activate Signal Data
After the data source integration has been completed, it is time to ensure that the Jornaya Activate Signal Data is properly ingested for marketing outreach.
Frequency of Monitoring
Within myJornaya this SFTP integration can be set up to run once or automatically pick up new Monitoring Files
Two Options for SFTP Monitoring Frequency
Manual Run - This integration method only runs once. If you want to provide a new set of records (Monitoring File) through the same SFTP Integration, you will need to turn the SFTP Integration off and back on again. This will cause the integration to grab the most recent file available via that predefined file path.
Automatic Run - This SFTP Integration method will automatically pull in the Monitoring File you deliver to your SFTP location, meaning you do not need to use the myJornaya Interface to update your monitoring file.
There are additional prerequisites for this monitoring type which can be found immediately below.
Automatic Run Prerequisites
To enable an Automatic Run SFTP integration, start by naming your monitoring file using the following convention:
Format: [value]_[value]_[YYYY_MM_DD_HH_MM_SS]_[any 6 digit number].csv
Timestamp Format
The timestamp component uses a 24-hour format
Example: CompanyName_ChurnRiskCustomers_2022_03_28_11_07_19_564378.csv
After creating this file, you will need to zip it and give it a standard name that you will use for all future uploads.
The zip file name can be anything - but must not change after the integration is configured.
This is the file name you will input as noted in Step 5 above, and SFTP Integration depends on a consistent name to pick up the file.
Once a zipped file is loaded into your SFTP, Jornaya Activate will unzip it and read the timestamp in the file name.
Processing the File
If the timestamp differs from the most recently received file, Activate will proceed to process the new file automatically.

Edit Your Data Source Integration
Should the integration needs to be edited, simply click the edit icon next to the specific Data Source. Make the necessary data source integration edits, then enable the integration again.

Automatically Disable Integration
Editing the Data Source Integration will automatically disable the integration and it will need to be reenabled to pull the most recent monitoring file.
Delete an Integration
You can delete a data source integration by clicking the trash can icon next to the corresponding integration.

Was this article helpful?