Updates & Edits to Activate
- 22 Nov 2022
- 2 Minutes to read
- Print
- DarkLight
Updates & Edits to Activate
- Updated on 22 Nov 2022
- 2 Minutes to read
- Print
- DarkLight
Article Summary
Share feedback
Thanks for sharing your feedback!
Summary
In this section we discuss how to edit an Activate instance and common reasons to edit an instance. Watch the summary video below and click through the additional articles in this section for more details.
Key Takeaways
- Any Activate instance can be edited from within myJornaya
- When editing configuration settings, be sure to click SAVE before exiting the tab to ensure your changes are registered
- When editing a data source or integration be sure to toggle the integration back on (slider is blue) after editing so that the integration continues to run the next day.
Edit Your Instance
Should an instance need to be edited, simply hover of the instance (the text will change to "Configure Instance") and then click on it. Make the necessary edits, then click save to finish.

Edit or Delete an Integration
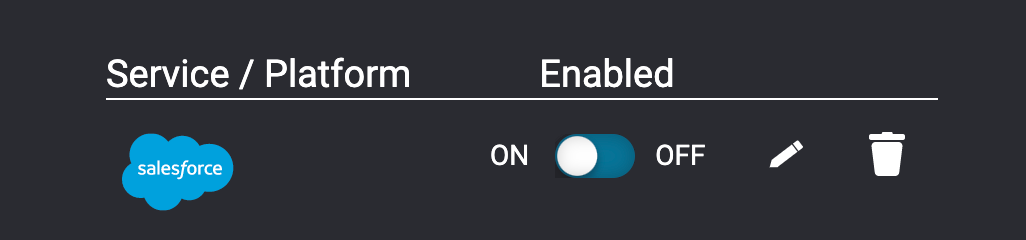
You can edit or delete an integration by clicking either icon next to the corresponding integration.
Editing an Integration will automatically disable the integration. The integration must be reenabled to begin passing data again.

Edit journey selection
Navigate to your configuration settings for the desired instance and scroll to the available journeys in the configuration settings.

To add or remove available journeys to your daily Activate delivery, toggle select the deisred Journeys until a checkmark appears and the selected journey turns blue. Then be sure to hit the "Save Configuration" button in the upper right of the screen.

The updated configuration settings will be reflected in the next Activate run.
Journeys that are greyed out are not currently included in your Activate Subscription. If you'd like to explore a new journey that you are not subscribed to contact our team: customersuccess@jornaya.com
Update Authentication Credentials
If using an integration, there may come a time where the credentials that were used to connect the Jornaya Platform to a system of record need to be updated. Doing so is simple by following the below steps.
To Update You Authorization Credentials:
- Click to edit the desired Instance and then click to edit the desired integration within that instance.
- Add a new authentication account and input the appropriate authentication credentials to complete (it is not necessary to click through any field mapping screens).

- Toggle the integration back on (left/blue) to ensure that it continues to run.
Update Your Activate Monitoring file
In this video we review how to upload a monitoring file using Jornaya's File Upload tool.
If an integration is being used to connect a monitoring file, such as an SFTP integration, a new file can be retrieved by turning the "Data Source" integration OFF and then turning the integration back ON (Toggle is blue). Toggling the integration off and then back on must be done each time a new file is to be retrieved.
Key Takeaways
- Jornaya's monitoring file upload tool makes it easy to upload a new file to the Activate Platform.
- A new file should be uploaded within the first three days of the month to prevent any billing discrepencies resulting from too many unique records being monitored in a given month's timeframe. The first three days of the month is the grace period for switching monitoring files.
- Follow the instructions within the mapping wizard to map the column headers of your file to Jornaya's field names
- If you signed up for Activate notifications, you will receive an automated email from Jornaya after uploading a file confirming whether the file processed successfully or if there are adjustments that need to be made to any of the file's records.
Was this article helpful?